Appearance
如何创建模块
在工作原理中我们简单提到模块src下三个文件的作用,现在我们以创建一个可点击跳转的按钮为例,创建模块。
创建模块包
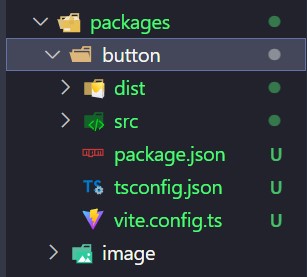
仿照已有的image目录,创建一个目录,目录名为button(不带Lc前缀)
src/package.json
建议复制已有的包进行修改,这里在button前带上@lowcode512/和lc-前缀。
json
{
  "name": "@lowcode512/lc-button",
  "version": "0.0.1",
  "main": "./dist/index.cjs",
  "module": "./dist/index.mjs",
  "types": "./dist/index.d.ts",
  "exports": {
    ".": {
      "import": "./dist/index.mjs",
      "require": "./dist/index.cjs"
    }
  },
  "publishConfig": {
    "access": "public"
  },
  "files": [
    "dist"
  ],
  "scripts": {
    "build": "vite build"
  },
  "keywords": [
    "low-code",
    "typescript"
  ],
  "license": "MIT",
  "dependencies": {
  }
}
tsconfig.json
json
{
    "extends": "../../tsconfig.json",
    "include": [
        "../../env.d.ts",
        "./src/**/*",
    ],
}
vite.config.ts
需要修改name值。
typescript
import {defineConfig} from 'vite'
import vue from '@vitejs/plugin-vue';
import pkg from './package.json'

export default defineConfig({
    plugins: [vue()],
    build: {
        lib: {
            entry: './src/index.ts',
            name: 'LcButton',
            fileName: `${pkg.name.split('/')[1]}.${pkg.version}`,
            formats: ['umd'],
        },
        cssCodeSplit: true,
    }
})设置.vue、.ts、.css
此处,便是你设置真正内容的地方了!
在vue设置布局,定义参数,如果是从其他模块复制过来,一定要注意各种改名,包括不限于class名、
index.vue
vue
<script setup lang="ts">
const props = defineProps<{
title: string;
color: string;
size: number;
borderRadius: number;
}>();
</script>
<template>
<button
:style="{
fontSize: size + 'px',
color: color,
borderRadius: borderRadius + 'px',
}"
class="lc-button"
>
{{ title }}
</button>
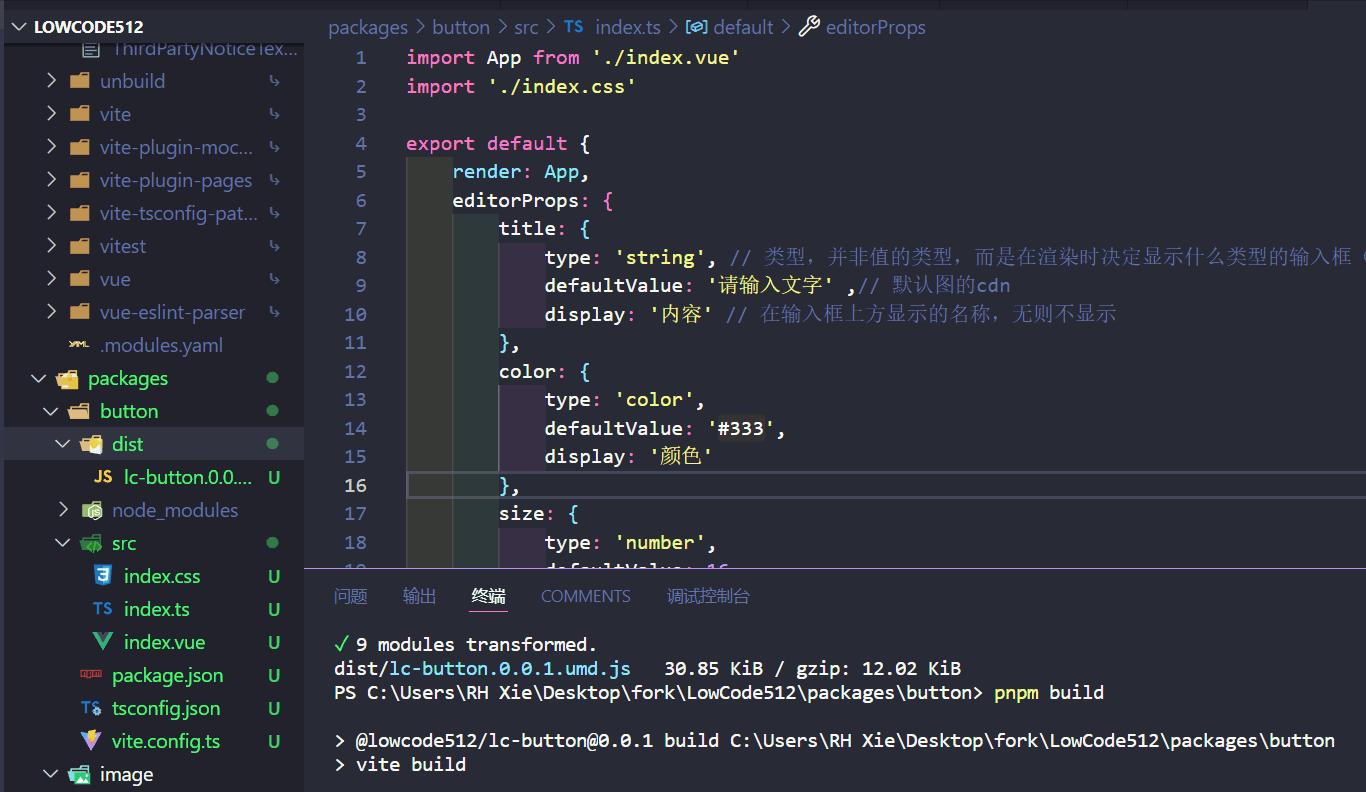
</template>index.ts
typescript
import App from './index.vue'
import './index.css'

export default {
    render: App,
    editorProps: {
        title: {
            type: 'string', // 类型,并非值的类型,而是在渲染时决定显示什么类型的输入框(如选择器、滑块)
            defaultValue: '请输入文字' ,// 默认图的cdn
            display: '内容' // 在输入框上方显示的名称,无则不显示
        },
        color: {
            type: 'color',
            defaultValue: '#333',
            display: '颜色'
        },
        size: {
            type: 'number',
            defaultValue: 16,
            display: '字体大小'
        },
        borderRadius: {
            type: 'number',
            defaultValue: 2,
            display: '圆角'
        }
    }
};
(.css此处省略,根据实际编写、参照已有即可)
编译.umd.js
在包的根目录下:
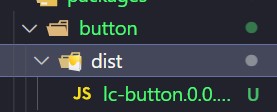
pnpm run build随后你可见dist下有*.umd.js后缀文件,lc指LowCode,跟随其模块名button,后面是版本号0.0.1和后缀
拖入编辑器的public文件夹
通过utils.ts的loadScript和loadMaterial(在./src/store/project.ts下调用),*.umd.js将被加载为物料。
配置到编辑器
apps/editor/src/data下的materials.ts存储着EditorLeft物料栏里的信息。我们在image和title后追加一下信息,编辑器上将会出现该组件。
typescript
{
id: 3,
type: "component",
category: {
name: "基础组件",
},
name: "LcButton",
title: "按钮",
thumbnail: "",
version: "0.0.1",
source: "/lc-button.0.0.1.umd.js",
data: [
{
version: "0.0.1",
source: "/lc-button.0.0.1.umd.js",
},
],
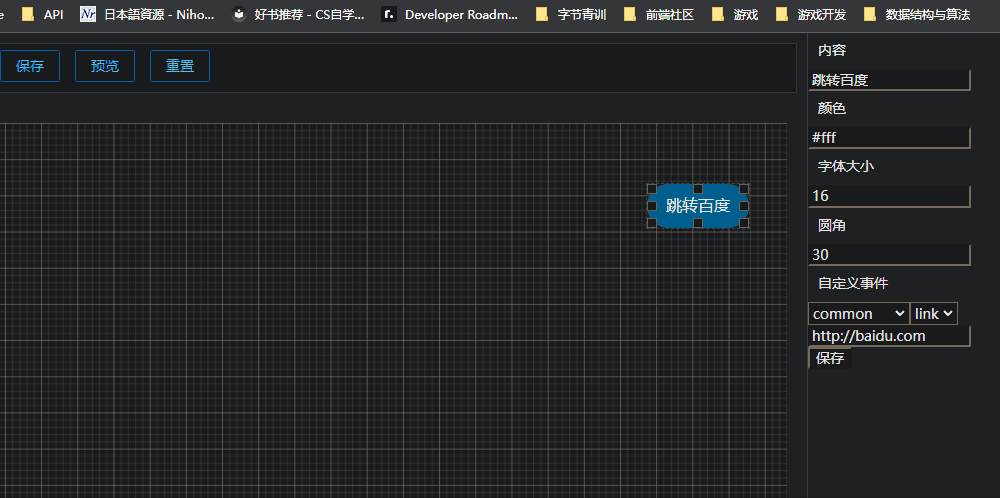
},定义完成后,来到编译器,我们可以看到新的组件已经出现: 
属性
根据你在defineProps()(.vue)和editorProps(.ts)中所配置的项,编辑器画布(EditorContent)得到render渲染成组件,右侧得到editorProps显示相关的属性。 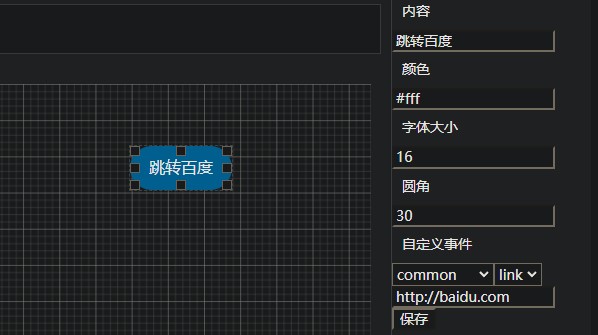
自定义事件
需要到与material.ts同级目录下的event.ts进行配置,这说明两者的作用是有联系的。event.ts下的editorEvents是一个示例事件,以及一个监听器globalEmitter
type: 'common'表示事件为通用时间,无论点击任何画布内的元素,都会有该栏事件(简单来说,这个字符串是给编辑器右侧决定是否渲染用的),events下是name事件名和args参数。
具体见EditorRight的“自定义事件”处(搜一下“自定义事件”定位)
为方便展示例子和节省时间,在上面的代码中,我们给index.vue加上:
vue
<script setup lang="ts">
const props = defineProps<{
    title: string;
    color: string;
    size: number;
    borderRadius: number;
    events?: Record<string, any[]>;
}>();
// 一个简单的打开链接事件
function onClick() {
    const link: string = props.events["common:link"][0];
    window.open(link, "_blank");
}
</script>

<template>
    <button
        :style="{
            fontSize: size + 'px',
            color: color,
            borderRadius: borderRadius + 'px',
        }"
        class="lc-button"
        @click="onClick"
    >
        {{ title }}
    </button>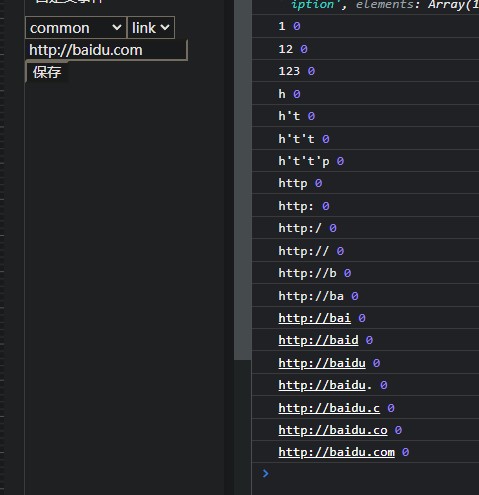
</template>一是给组件添加了点击事件,而是通过window跳转页面,如果打开了控制台,也许还能看到所传的参数,尝试找找它来自哪里吧。(观察image的.emit,想想是否在某处见过.on?)
题外话
谁有时间记得把这个防抖做一下